This guest blog post was written by Jack DeLand. Jack has provided Help projects and/or Help authoring training to Fortune 50 companies around the world for over 30 years. He specializes in MadCap Flare project development, architecture, and design, and resides in Ypsilanti, a small city next to Ann Arbor, Michigan.
Abstract
This python script came about out of necessity. I’ve been resuscitating old websites, replacing HTML entity names like "'", with HTML entity numbers like "'". These old codes will choke Flare to a standstill and must be rooted out. There are thousands of Unicode characters. We stopped at "𝕫", and there are more obscure codes that could be added, but you have to draw the line somewhere.
This pre-built example and a working python installation on your computer are all you need but note that you can easily edit the .py file with a programming editor like Notepad++. Do not use Microsoft Notepad for any serious work.
Note, too, that this script may not be perfect. I spliced together information from many sources and was the sole proofreader. ChatGPT was used to write the final python code and to find some obscure number entries. There are many sites with equivalency charts for HTML entities and numbers. The most complete that I’ve come across is https://graphemica.com/.
All Users—Always test on a “throwaway” copy of your project before making any wholesale changes.
Beginning Users—Study the code sample to see what’s going on when you run the script.
Experienced Users—Improve the script!
Python
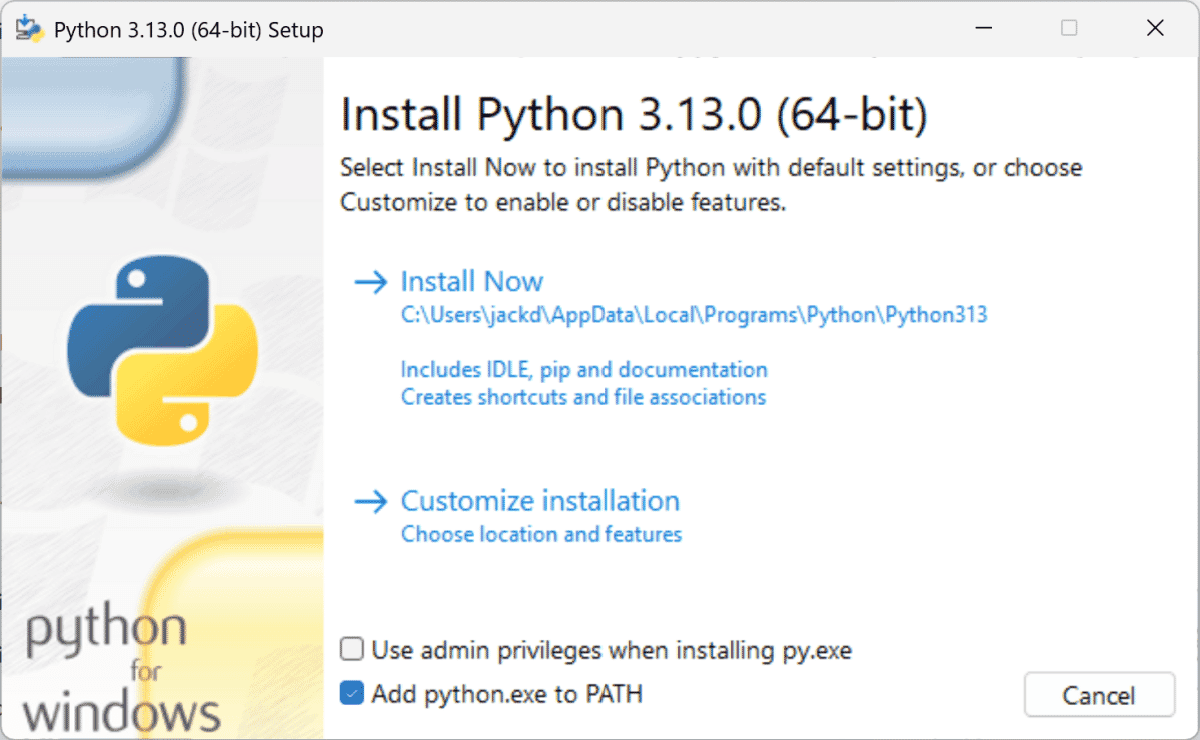
Download and install python from https://www.python.org/. You’re on your own here but installation is pretty simple. Two things to remember:
- Check the box shown at lower left of the install dialog to add the python installation to your path. The operating system (Windows) uses the path entries to know what directories to search through.
- Reboot after installing python.
How the Code Works
Our code steps for a find/replace action couldn’t be simpler. They define functions that will:
- Read the file content.
- Replace HTML entities with their corresponding HTML numbers. The code searches for all files with either .htm or .html extensions.
- Repeat to replace all HTML entities in the content.
- Write the modified content back to the file.
- Move to the next file and repeat until done.
- Write a report of all file changes.
A brief explanation of each code section follows.
Note: The lines beginning # in the code are comments inserted by ChatGPT.
Import Statements
These appear at the very top of the file. This section is used to define which of python’s built-in code modules are used.
import os
The os python module makes available “functions to manage files, directories, and processes” for the operations to be performed.
import re
Similarly, the re module makes available regular expressions to be used on the files. Regular expressions are a complicated way of doing complex search and replace operations, not for the faint of heart. I use ChatGPT often for regex searches.
Text Replace Definition
This section is merely a list of the text pieces to be found (in double quotes) and operated upon in the files. For example, the first line defines "!": "!", as a pair. For every instance of "!": found in the files, the script will substitute and save the change to "!",. The list can be very long, and this sample shows only a few.
Note that “" and " are separate and distinct, but map to the same HTML number. Spelling counts!
html_entities = {
"!": "!",
""": """,
""": """,
"𝕫": "𝕫",
}
Report Definition
This tells the script that a report will be created.
# Report list to store logs of changes
report = []
Text Replace Functionality
This is the meat of the code. It handles the file processing, including the actual replace operation and writing the changes back to each file. The script runs very quickly, even with thousands of entries.
def replace_html_entities(file_path):
"""
Reads the file content, replaces HTML entities with their corresponding numbers,
writes the modified content back to the file and logs the changes.
"""
with open(file_path, 'r', encoding='utf-8') as f:
content = f.read()
original_content = content # Keep a copy to compare later
changes_made = [] # Track changes for this file
# Replace all HTML entities in the content
for entity_name, entity_number in html_entities.items():
if entity_name in content:
content = content.replace(entity_name, entity_number)
changes_made.append(f"Replaced '{entity_name}' with '{entity_number}'")
# Write the modified content back to the file
with open(file_path, 'w', encoding='utf-8') as f:
f.write(content)
Report Functionality
This section is the heart of report creation.
# If any changes were made, log them
if changes_made:
report.append(f"Changes in {file_path}:")
report.extend(changes_made)
report.append("") # Blank line for readability
Moving through Directories
This section tells the script how to move through directories (the path to follow).
def process_directory(directory):
"""
Recursively processes all HTML files in the given directory and its subdirectories.
"""
for root, _, files in os.walk(directory):
for file in files:
if file.endswith('.html') or file.endswith('.htm'):
file_path = os.path.join(root, file)
print(f"Processing file: {file_path}")
replace_html_entities(file_path)
Saving the Report
This creates a .txt log file that records all changes made, listing them by HTML file.
def save_report(report_path):
"""
Saves the report to a log file.
"""
with open(report_path, 'w', encoding='utf-8') as f:
f.write("\n".join(report))
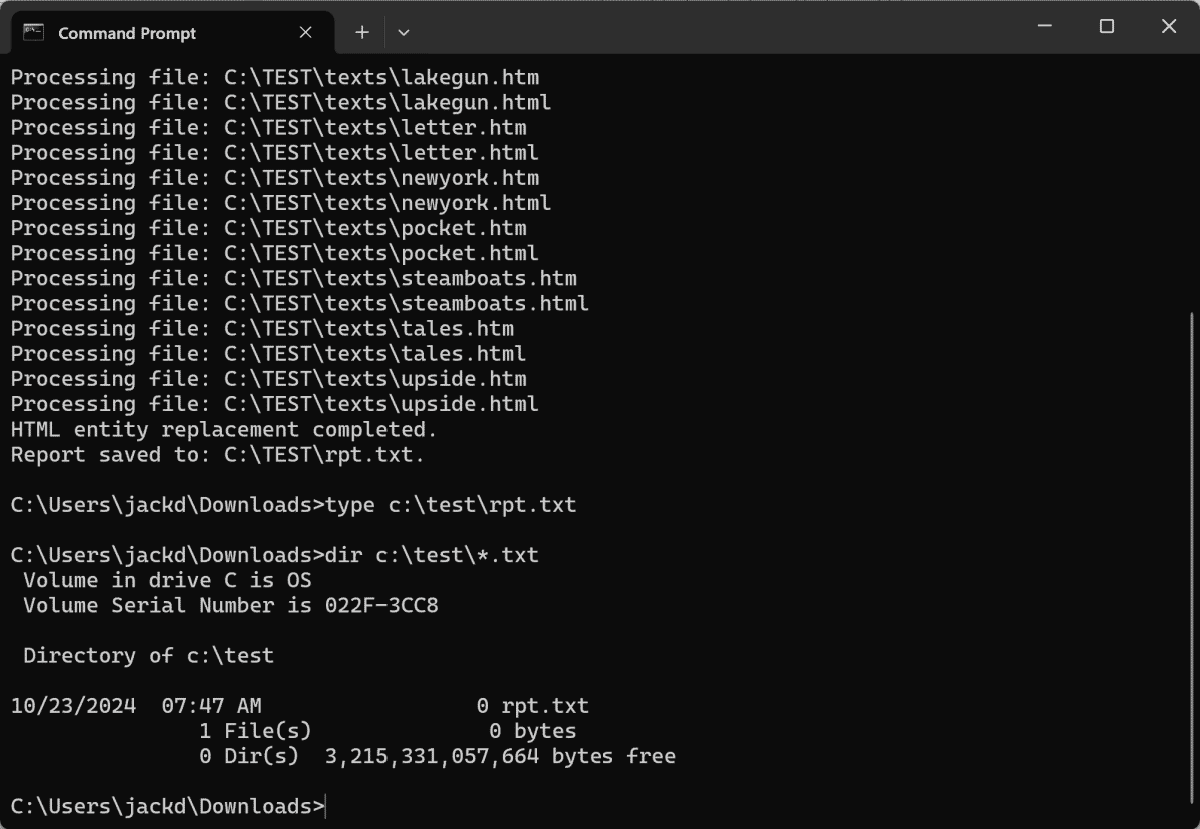
Note: This code will overwrite any existing report in the target directory without warning. Save the report under a different name if you want to keep it. If no changes are made, the script will write an empty (zero bytes) report .txt file:
Where to Start
This section tells the script what files to start from, then where to move through the directories and any subdirectories, and where to place the report.
# Entry point of the script
if name == "__main__":
directory_to_process = "C:\\TEST" # Change this path as needed. Use double backslashes as shown.
report_path = "C:\\TEST\\rpt.txt" # Report file path. Use double backslashes as shown.
process_directory(directory_to_process)
save_report(report_path)
print("HTML entity replacement completed.")
print(f"Report saved to: {report_path}.")
The “entry point” is simply the directory the script is starting from. The script finishes with messages to the user.
If you’re a python beginner, study the lines above and try to see how the comments are reflected in the code. What does == mean? What are parentheses used for? Why are they calling out encoding='utf-8'? Why do you need double backslashes?
Running the Script
1) Download and install python if you haven’t already. The current downloads page is https://www.python.org/downloads/.
2) Download the python script here and unzip the file html-entities.py.
3) Change directories to the one in which you placed the python .py file. It can be anywhere on your computer. The script now uses C:\\TEST, but you can edit this to any valid directory path. Note that the double backslashes are necessary for python.
4) Open a Command Prompt window and change to your scripts directory.
5) Enter python html-entities.py.
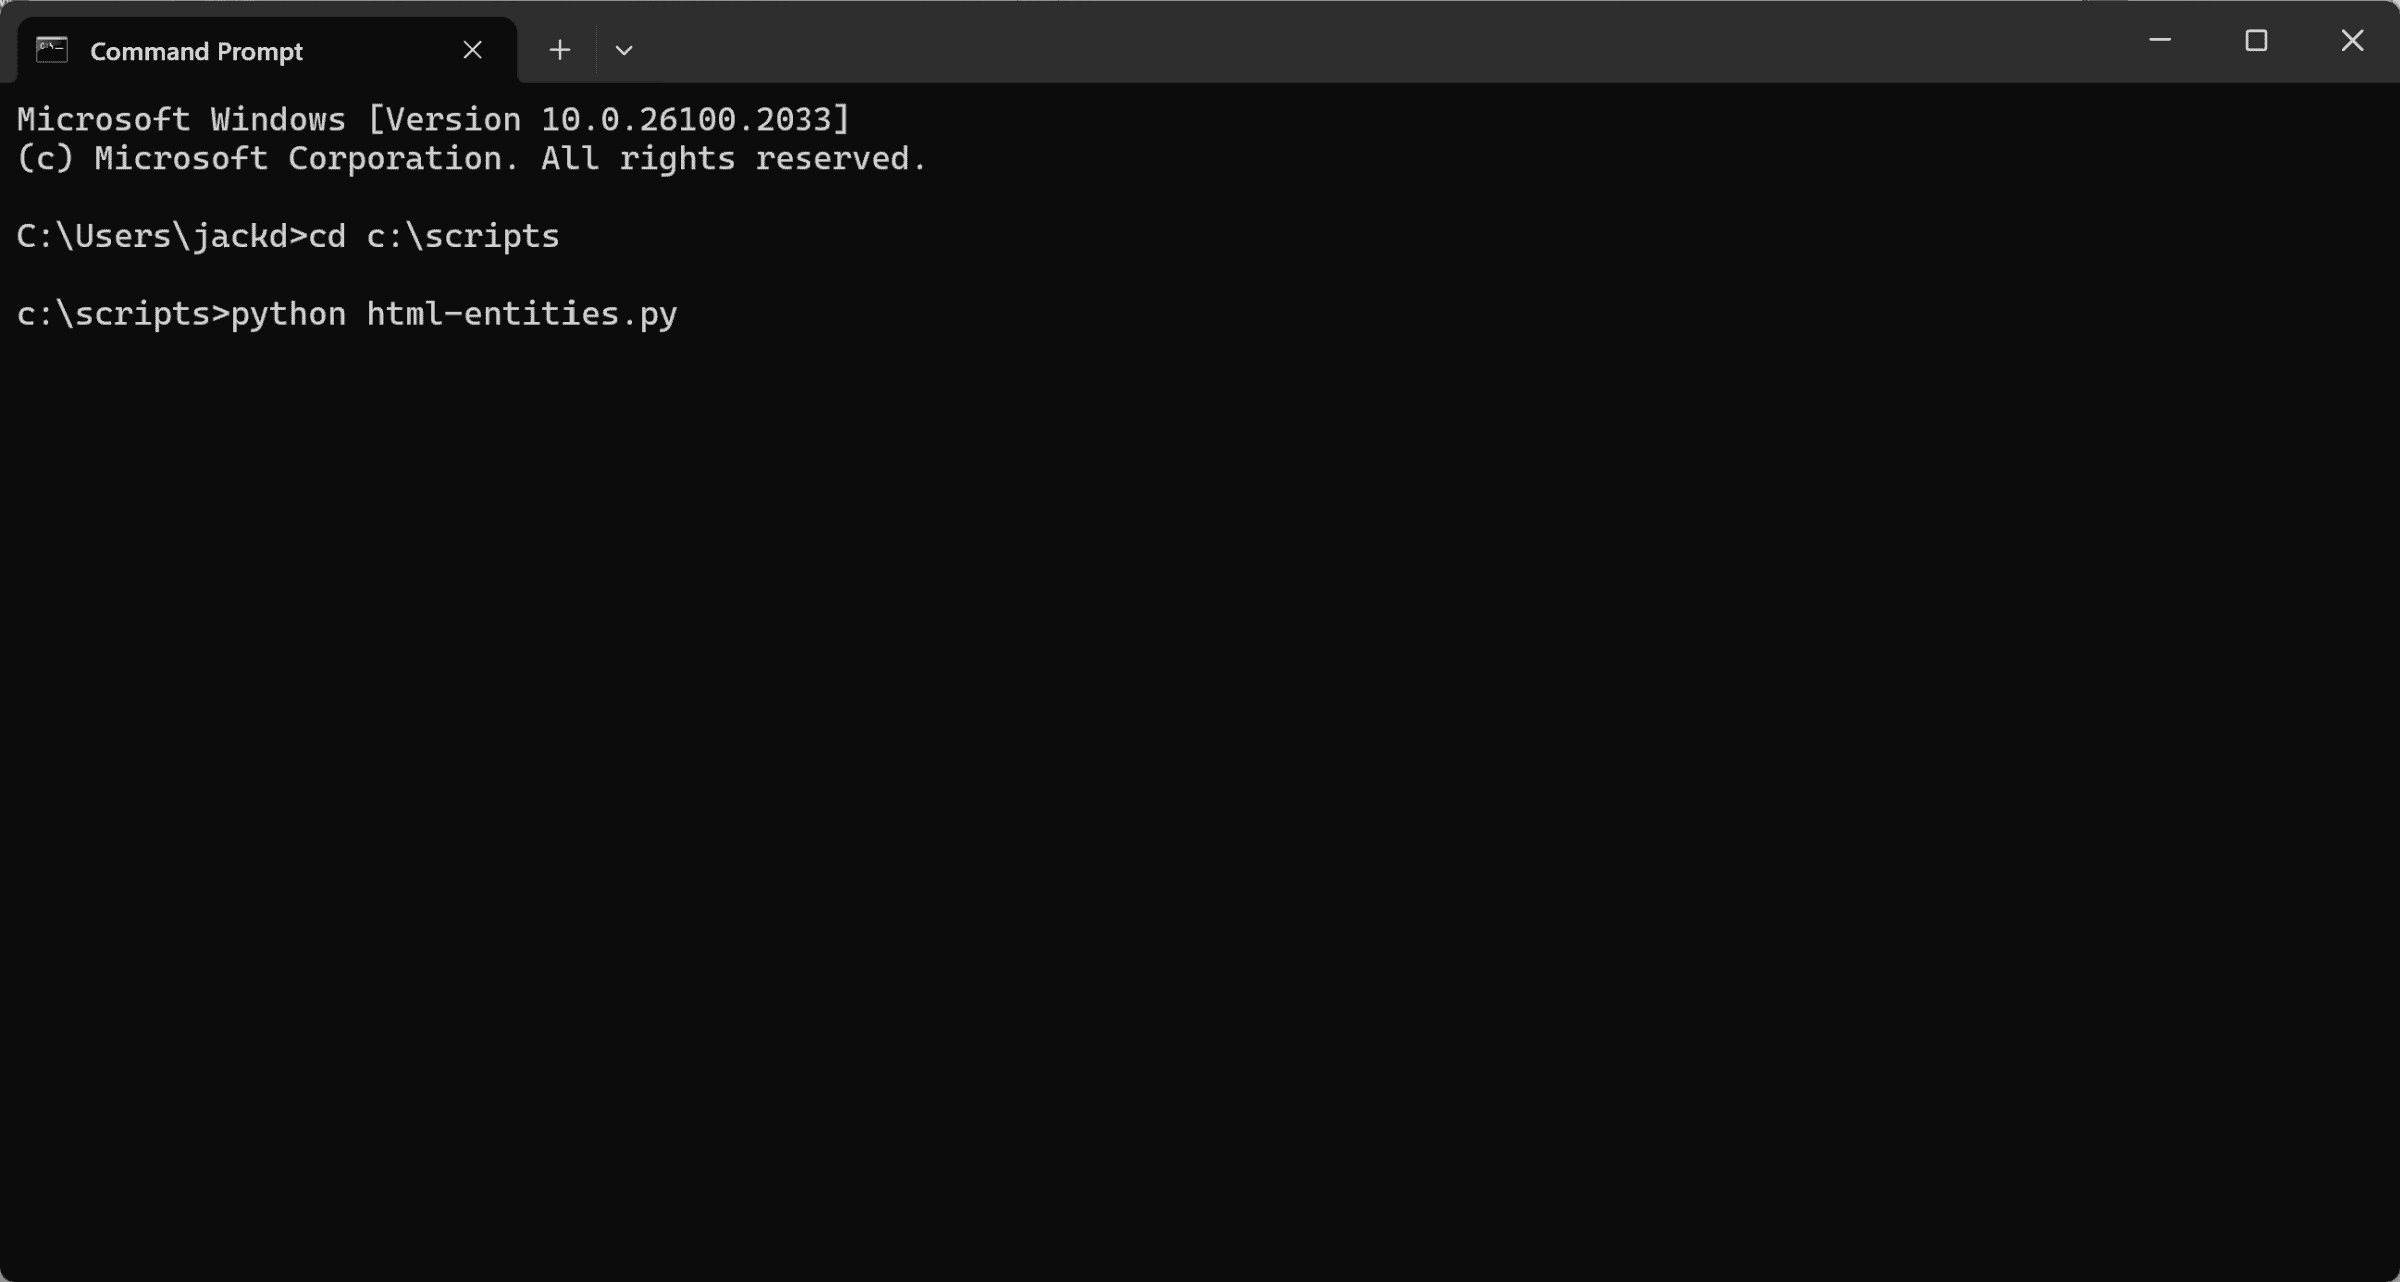
6) Pressing Enter should start the replacement operation. If not, try using ChatGPT to debug the error messages.
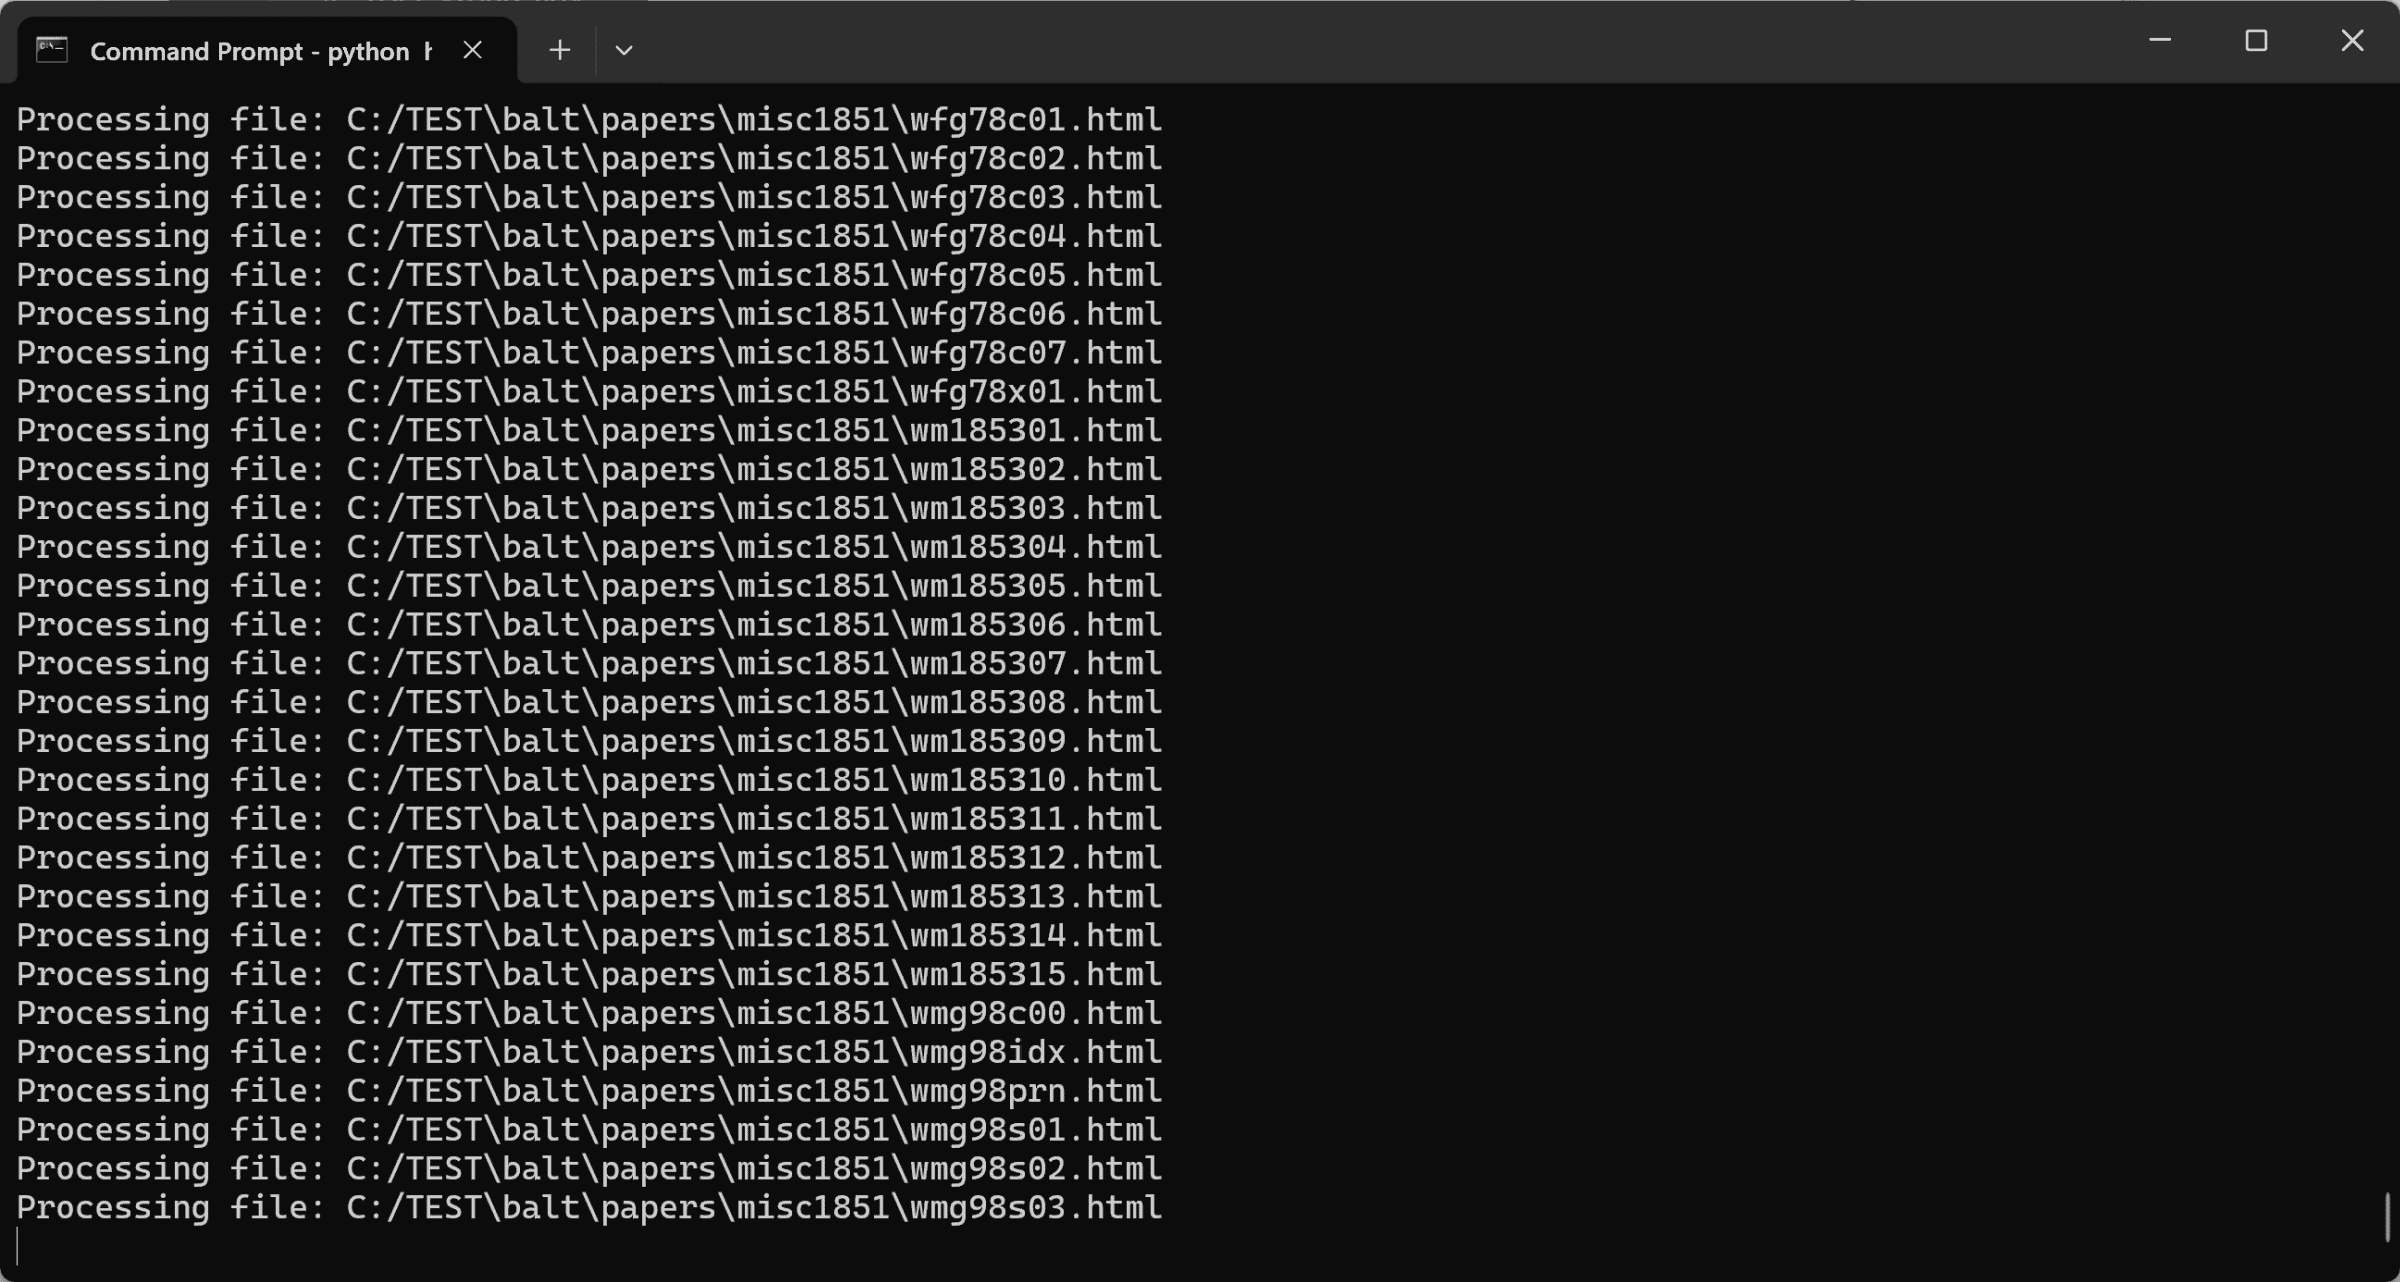
7) When finished, you’ll see the completion message:
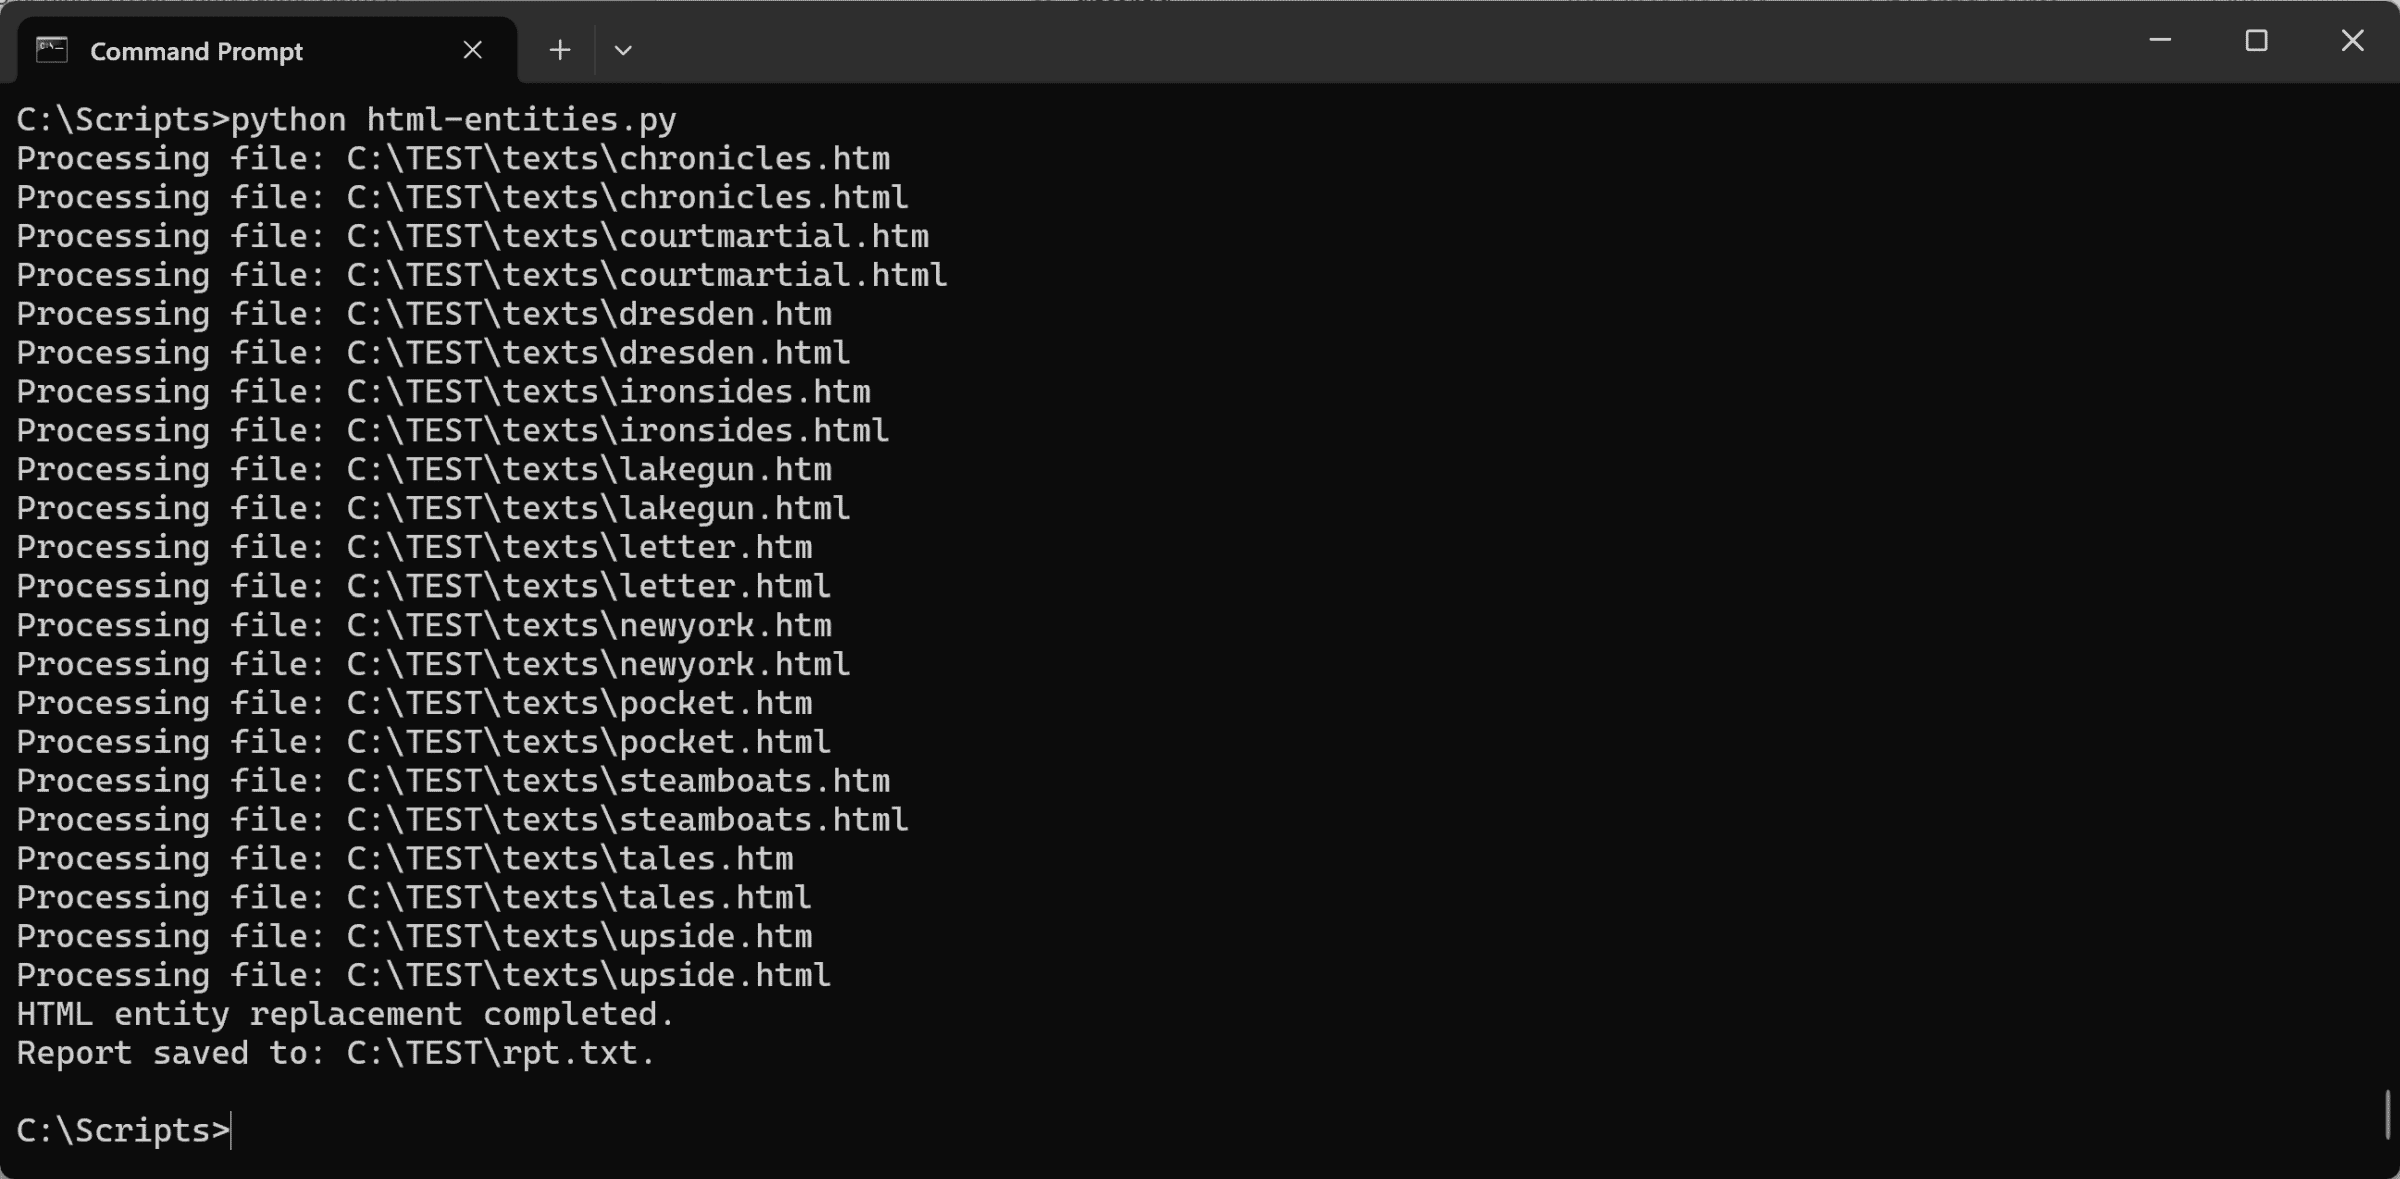
Now do you know what print ("HTML entity replacement completed.") means? Yes! And you can add your own message by copying and editing carefully.
Reporting
A report function is provided for your convenience in tracing errors. Here’s what you see if you enter the DOS command type C:\TEST\rpt.txt in our sample Command Window:
The report module creates and saves a report. The code reads:
def save_report(report_path):
"""
Saves the report to a log file.
"""
with open(report_path, 'w', encoding='utf-8') as f:
f.write("\n".join(report))
Try to figure out how each function works. What is an open X? In this case, the quasi-word “report_path” stands for any file within this directory path. i.e., the current directory and all its subdirectories. It’s the way a Martian might describe “report out any file that qualifies within this directory path.” See? It’s simpler than you thought!
Reward yourself by making simple little scripts that run (even if you “cheat” by running the same thing over and over), against progressively larger targets. Try to be cryptic yet all encompassing. What works and what doesn’t? Make a note: write it down, write it down, write it down. Teach yourself. Learn how to teach yourself by teaching yourself.


/ill-using-Flare-for-website-makeover-part1-1200x1200.png)

